

Step-by-Step HVAC Installation Process: A Friendly Guide

Installing an HVAC system might seem like a big job, but with the right steps, it becomes manageable and even rewarding. Whether you’re upgrading your home or business in Indiana, PA, understanding the hvac installation process helps you make smart decisions and ensures your system runs efficiently for years. I’m here to walk you through each step, sharing practical tips and clear instructions to make this project smooth and successful.
Understanding the HVAC Installation Process
Before diving into the installation, it’s important to know what the process involves. HVAC stands for Heating, Ventilation, and Air Conditioning. The system controls your indoor climate, keeping you comfortable no matter the season. Here’s a quick overview of the main steps:
Assessment and Planning: Evaluating your space and needs.
Choosing the Right System: Selecting equipment that fits your home or business.
Preparing the Site: Clearing space and making necessary adjustments.
Installing Components: Setting up the furnace, air conditioner, ductwork, and thermostat.
Testing and Calibration: Ensuring everything works perfectly.
Each step is crucial. Skipping or rushing any part can lead to inefficiency or costly repairs later. Let’s break down these steps in detail.

Step 1: Assessment and Planning
The first step is all about understanding your space and what you need from your HVAC system. This involves:
Measuring your home or business area to calculate heating and cooling loads.
Checking existing ductwork to see if it can be reused or needs replacement.
Identifying insulation levels and windows that affect temperature control.
Discussing your preferences for energy efficiency, air quality, and budget.
A professional technician usually performs a Manual J load calculation to determine the right size of the system. Oversized or undersized units can cause problems like uneven temperatures or high energy bills.
Tip: Don’t guess the size of your HVAC system. Proper sizing is key to comfort and savings.
Step 2: Choosing the Right HVAC System
Once you know your needs, it’s time to pick the system. There are several types to consider:
Central Air Conditioners and Furnaces: Common for whole-home heating and cooling.
Heat Pumps: Efficient for moderate climates, providing both heating and cooling.
Ductless Mini-Splits: Great for homes without ductwork or for room-specific control.
Hybrid Systems: Combine a furnace and heat pump for energy savings.
Think about energy efficiency ratings like SEER (Seasonal Energy Efficiency Ratio) for cooling and AFUE (Annual Fuel Utilization Efficiency) for heating. Higher ratings mean better efficiency and lower utility bills.
Pro tip: Look for ENERGY STAR certified systems to save money and reduce environmental impact.
Step 3: What HVAC Systems Are Best for Allergies?
If allergies are a concern, your HVAC system can help improve indoor air quality. Here’s what to look for:
High-Efficiency Air Filters: Use filters rated MERV 11 or higher to trap pollen, dust, and pet dander.
UV Light Air Purifiers: These kill bacteria and mold spores circulating in the air.
Humidity Control: Systems with built-in humidifiers or dehumidifiers maintain ideal moisture levels, reducing allergens.
Proper Ventilation: Fresh air exchange systems help remove indoor pollutants.
Choosing the right system and accessories can make a big difference in breathing easier and feeling healthier inside your home or business.

Step 4: Preparing the Site for Installation
Before the actual installation, preparation is key. This includes:
Clearing the installation area to provide easy access.
Removing old equipment safely and disposing of it according to local regulations.
Inspecting and repairing ductwork if needed to prevent leaks.
Ensuring electrical and gas connections are ready and up to code.
Planning the placement of outdoor units to avoid obstructions and noise issues.
Good preparation saves time and prevents surprises during installation.
Step 5: Installing the HVAC System Components
Now comes the hands-on part. The installation usually follows this order:
Install the Furnace or Heat Pump: This is the heart of your heating system.
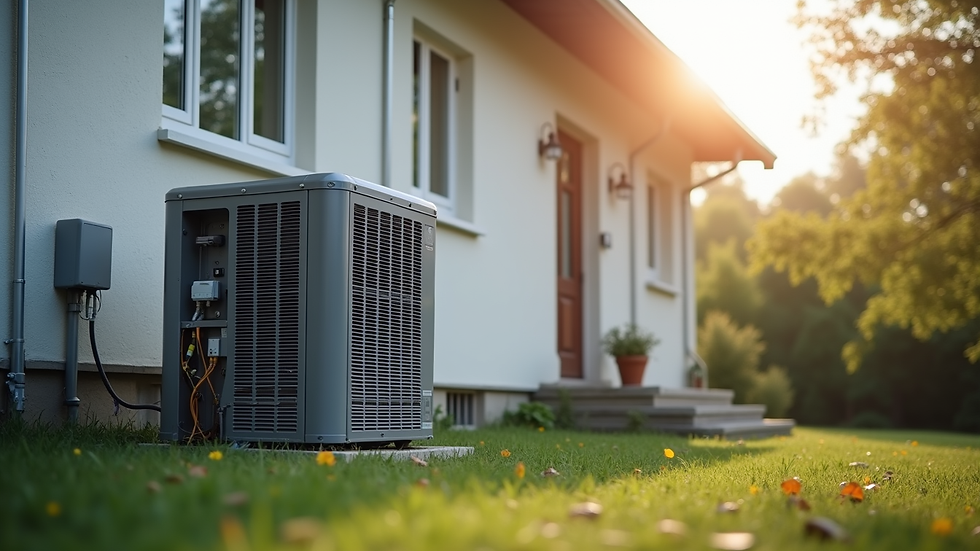
Set up the Air Conditioner or Cooling Unit: Usually placed outside, connected to the indoor unit.
Connect Ductwork: Ensuring airtight seals for efficient airflow.
Install the Thermostat: Modern smart thermostats offer better control and energy savings.
Hook up Electrical and Gas Lines: Done by licensed professionals for safety.
Each component must be installed carefully to meet manufacturer specifications and local codes.
Step 6: Testing and Calibration
After installation, testing is essential to confirm everything works as it should:
Check airflow and temperature at vents.
Test thermostat functions and programming.
Inspect refrigerant levels in cooling systems.
Listen for unusual noises or vibrations.
Verify safety controls on heating equipment.
This step ensures your system runs efficiently and safely from day one.
Maintaining Your HVAC System for Long-Term Comfort
Installation is just the beginning. To keep your system running smoothly:
Change air filters regularly (every 1-3 months).
Schedule annual professional maintenance.
Keep outdoor units clear of debris.
Monitor energy bills for sudden changes.
Seal leaks in ductwork promptly.
Proper maintenance extends the life of your system and keeps your indoor environment comfortable year-round.
Installing an HVAC system is a big project, but with clear steps and the right approach, it’s completely doable. If you want to learn more or need expert help, consider reaching out to trusted local professionals who prioritize fast, transparent, and eco-friendly solutions. Remember, a well-installed HVAC system is the foundation of comfort and efficiency in your home or business.
For more detailed guidance on hvac system installation, check out trusted resources or contact your local experts today.

Comments